When Holly was a little bit younger, before she could really sit by herself or play with toys, her favorite thing to do with me was read children’s books. One of her favorite books to read with me was, “Guess How Much I Love You” written by Sam McBratney and illustrated by Anita Jeram. It’s about two rabbits who are trying to explain how much they love each other. At the end of the book, Nutbrown Hare says, “I love you right up to the moon — and back.”
The phrase is written on nursery walls, jewelry, and has maybe been used so much that it’s now a cliche, but it’s a simple way of expressing how much I love my daughter. I would describe my love for Holly as being infinite.
I wanted to create a piece of artwork that showed the loved I have for my daughter. It had been on my mind for months, but it wasn’t until last weekend that inspiration struck. I went to visit my mentor student’s high school IB art show and got to see some student projects. High school students experiment and are unpretentious about the way they use art to show their emotions. Seeing their work helped inspire me.
A couple years ago, my husband and I had created a watercolor “tunnel book” as a wedding gift for our dear friends. I was interested in re-visiting that style of painting. Though my finished piece didn’t end up being a tunnel book, the layered pieces help give it a sense of space and set a scene.
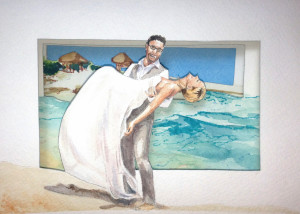
My first tunnel book project: a wedding present for our friends.
My dad loves going to garage sales and over the years he has picked up a large variety of frames for me to use for my artwork. I finally had to tell him to stop picking up frames because I couldn’t keep up! One of the frames he picked up was perfect for this project, so I gessoed it and painted over it with silver acrylic paint.

The painted garage sale frame with the watercolor background.
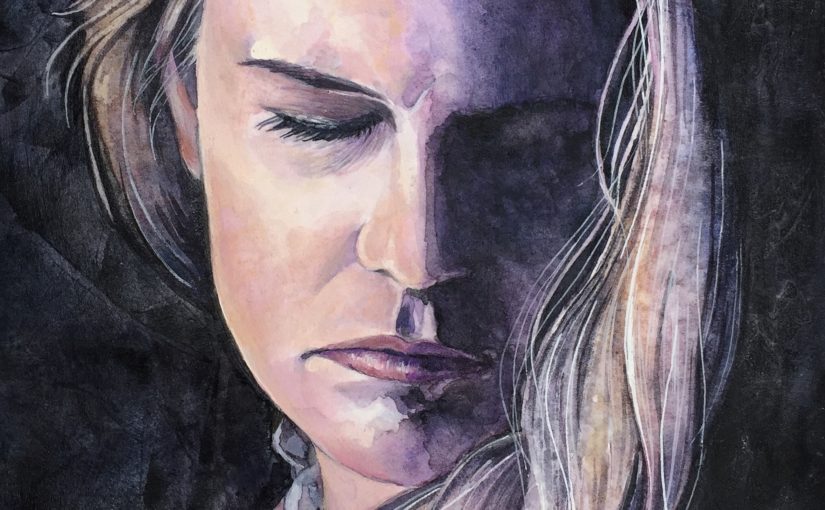
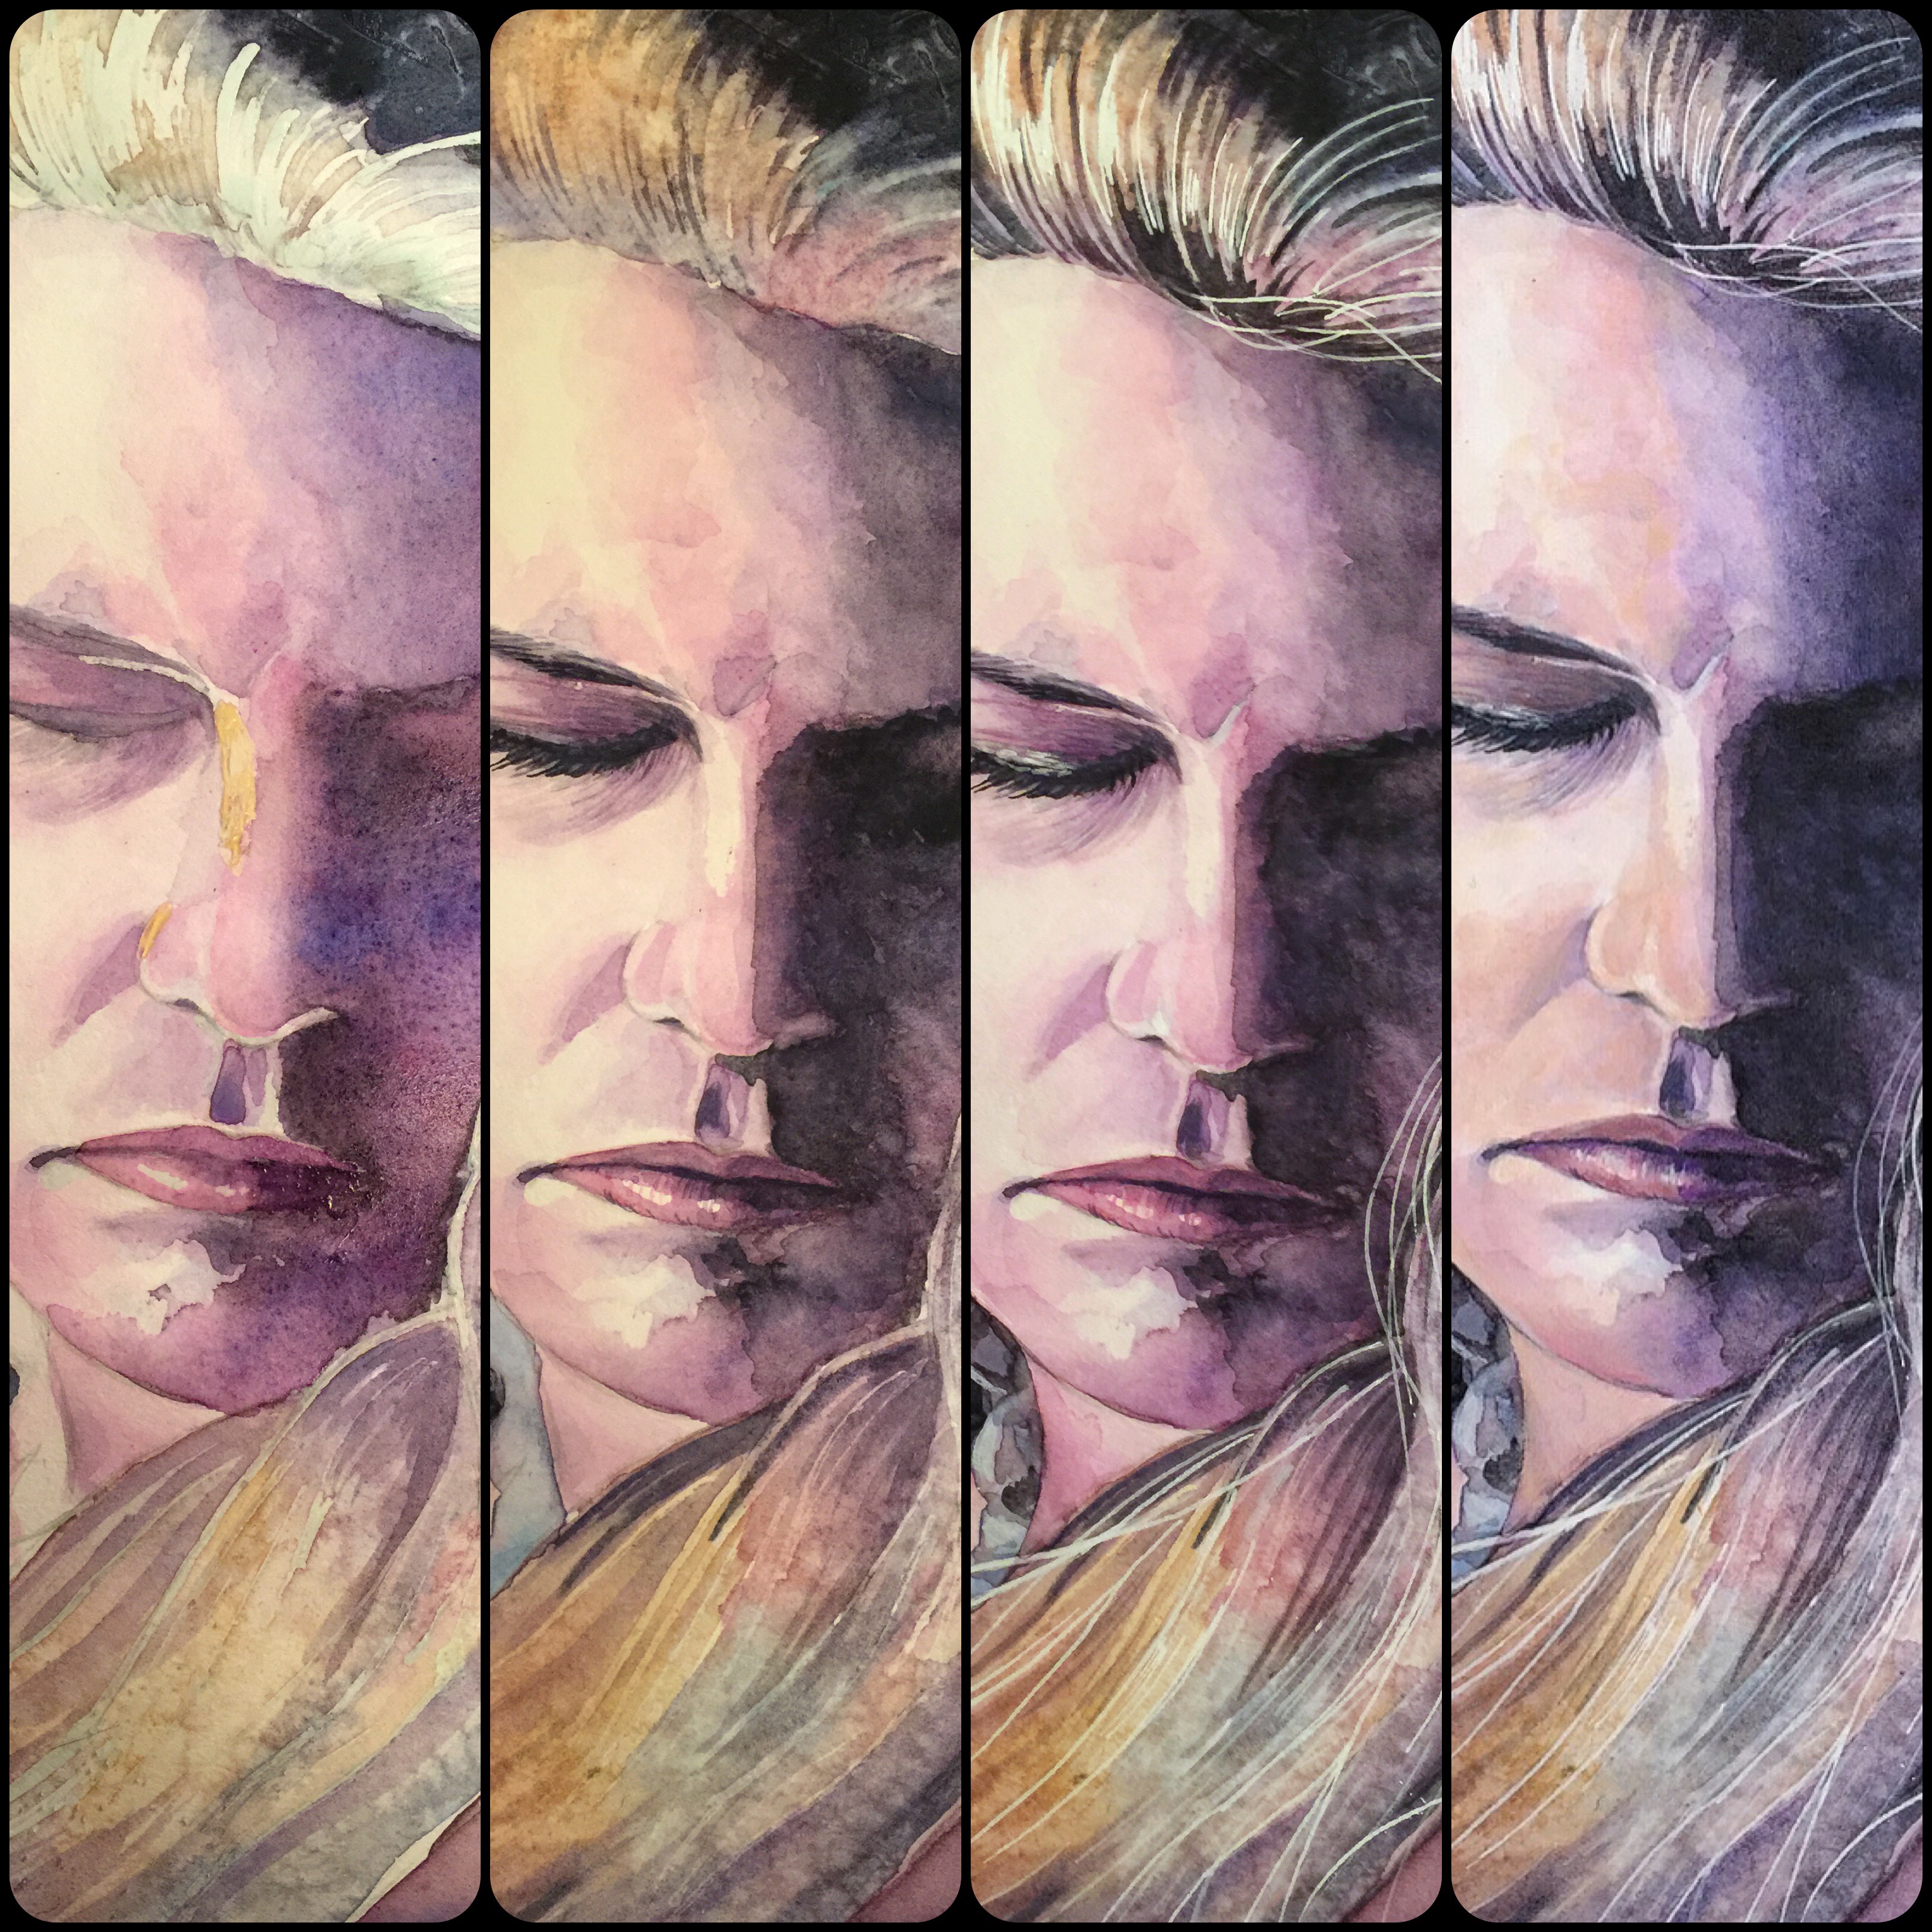
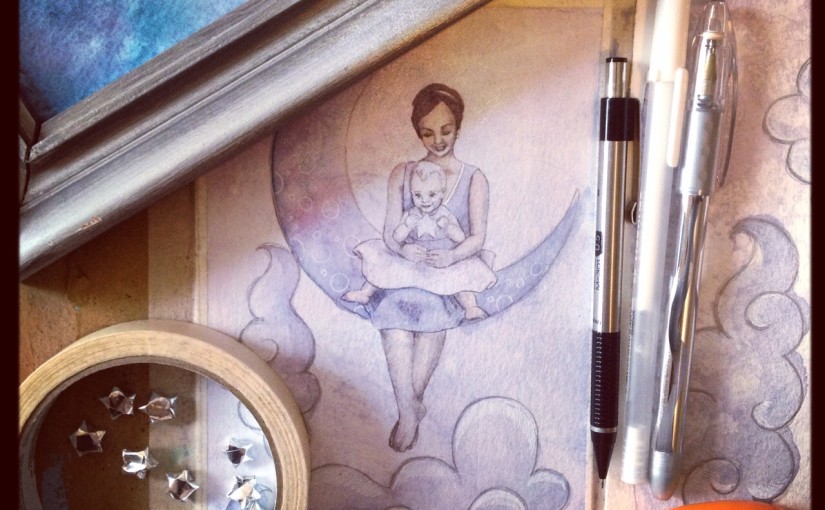
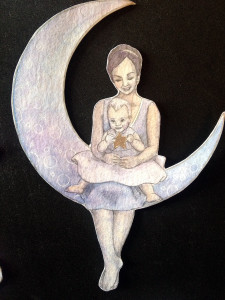
On three separate pieces of watercolor paper, I used wet-on-wet watercolor techniques to add color throughout the pages. I added salt, dots of alcohol, and used saran wrap to create the texture and effects. I drew out all of the pieces using pencil and touched them up with extra watercolor washes, pencil, and gel pen. After I finished the pieces, I cut everything out with an x-acto knife and scissors.

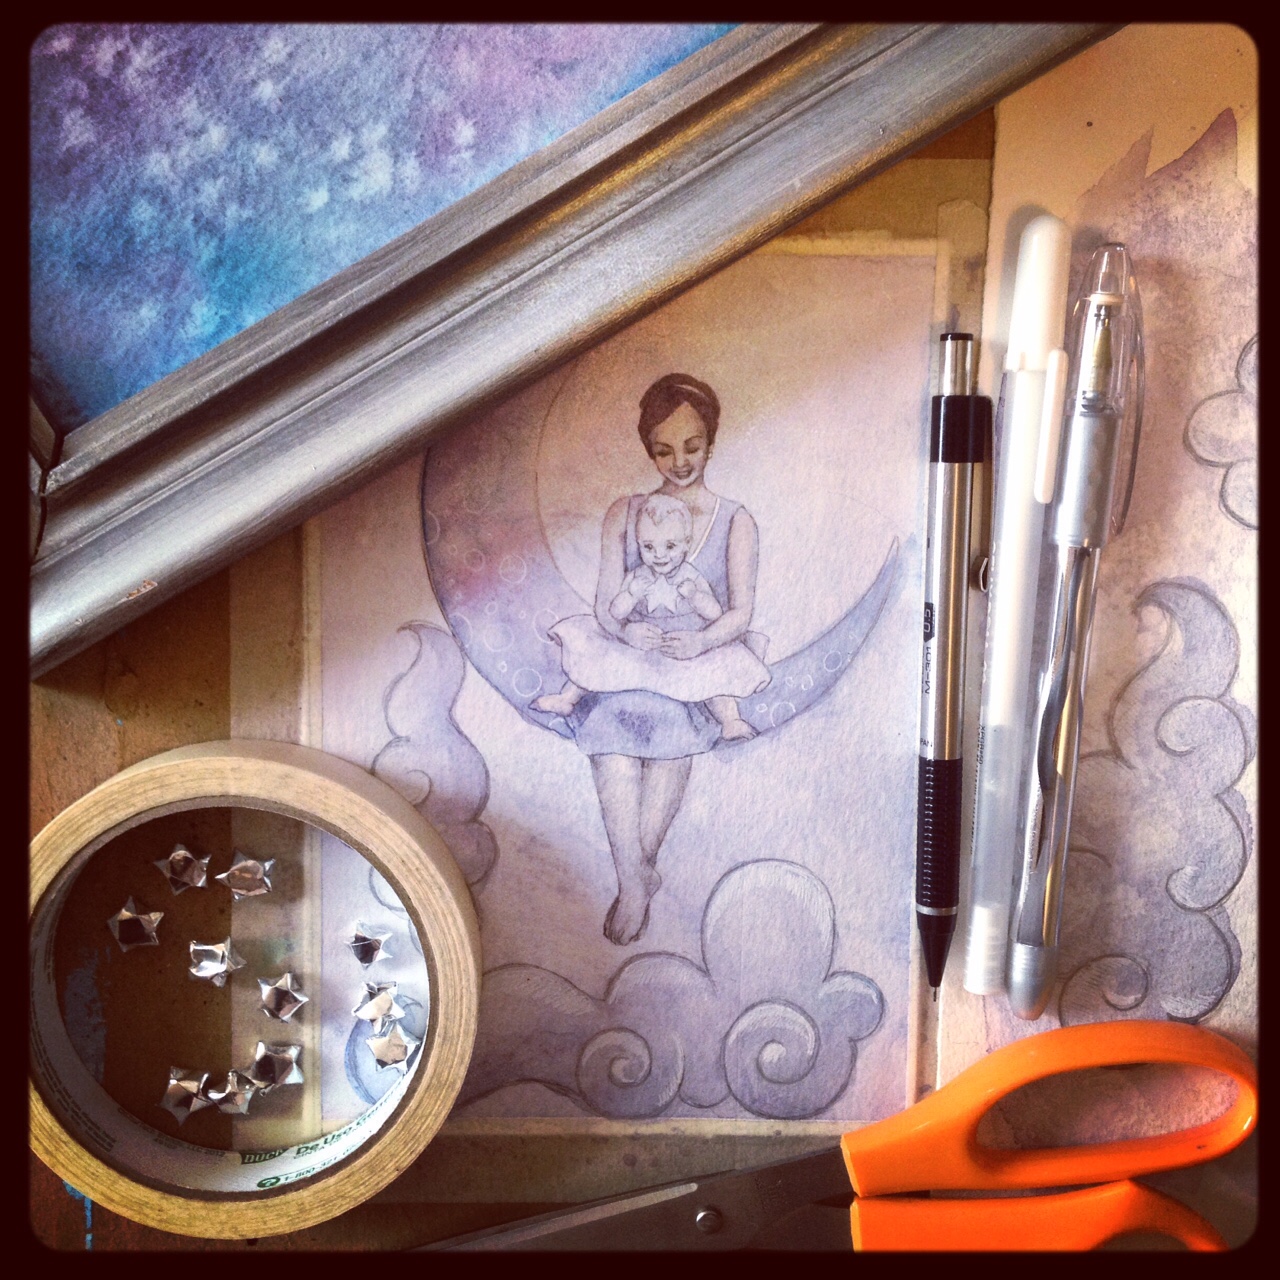
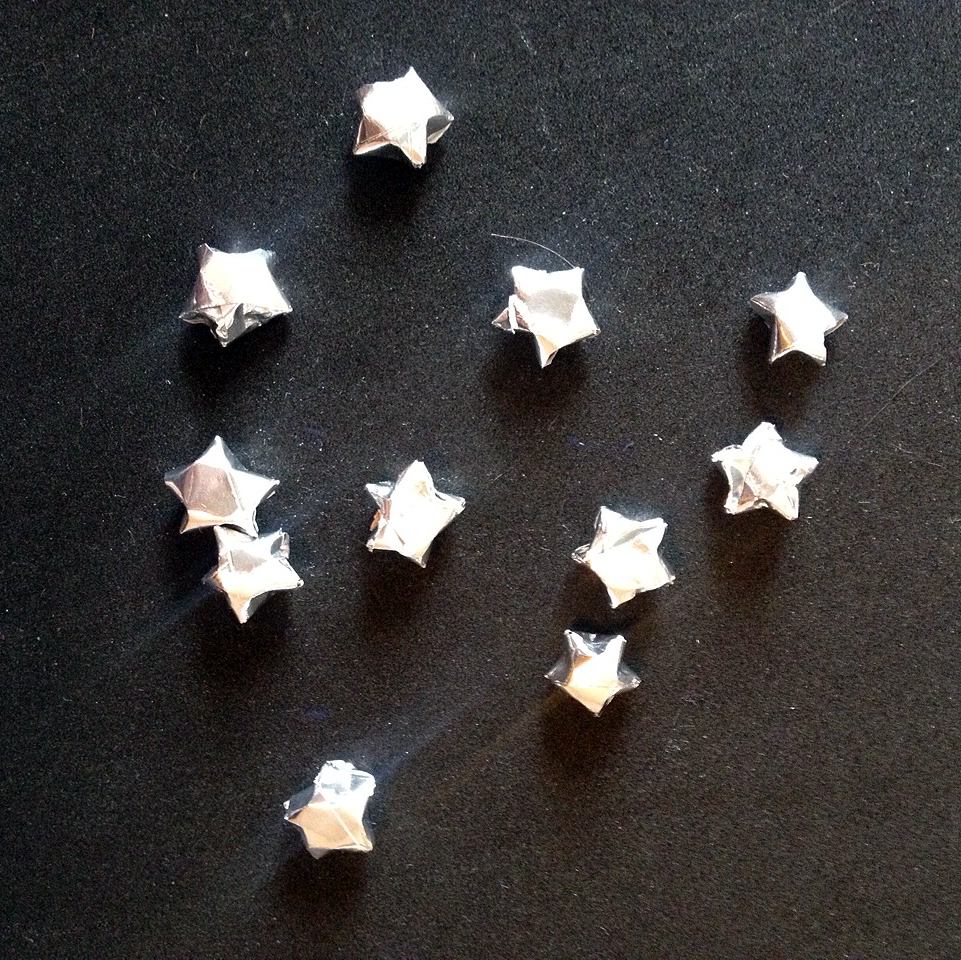
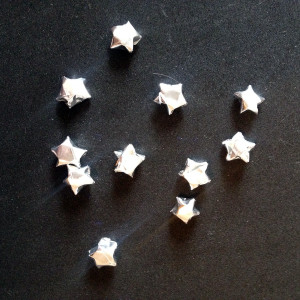
The stars were made out of strips of origami paper. I threaded a needle with metallic thread and added a string to each star. The stars were taped to the backs of the different cut-out pieces. I also cut out a piece of the silver paper and glued it into Holly’s hands so it would look like she was holding a star.
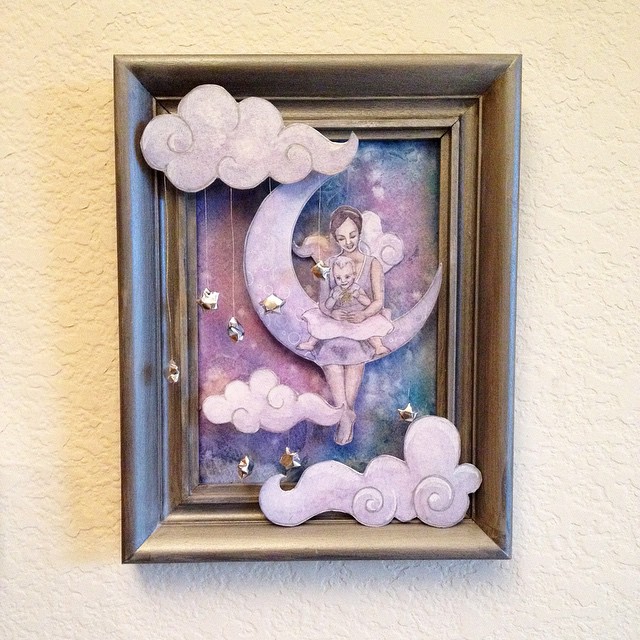
I folded small pieces of watercolor paper to different sizes and glued them to the back of my pieces to help them “pop” out.
The finished piece is now hanging up in the hallway outside of Holly’s room. I’m looking forward to creating another piece done in a similar style. Any suggestions for future projects?